DIY Bike Basket
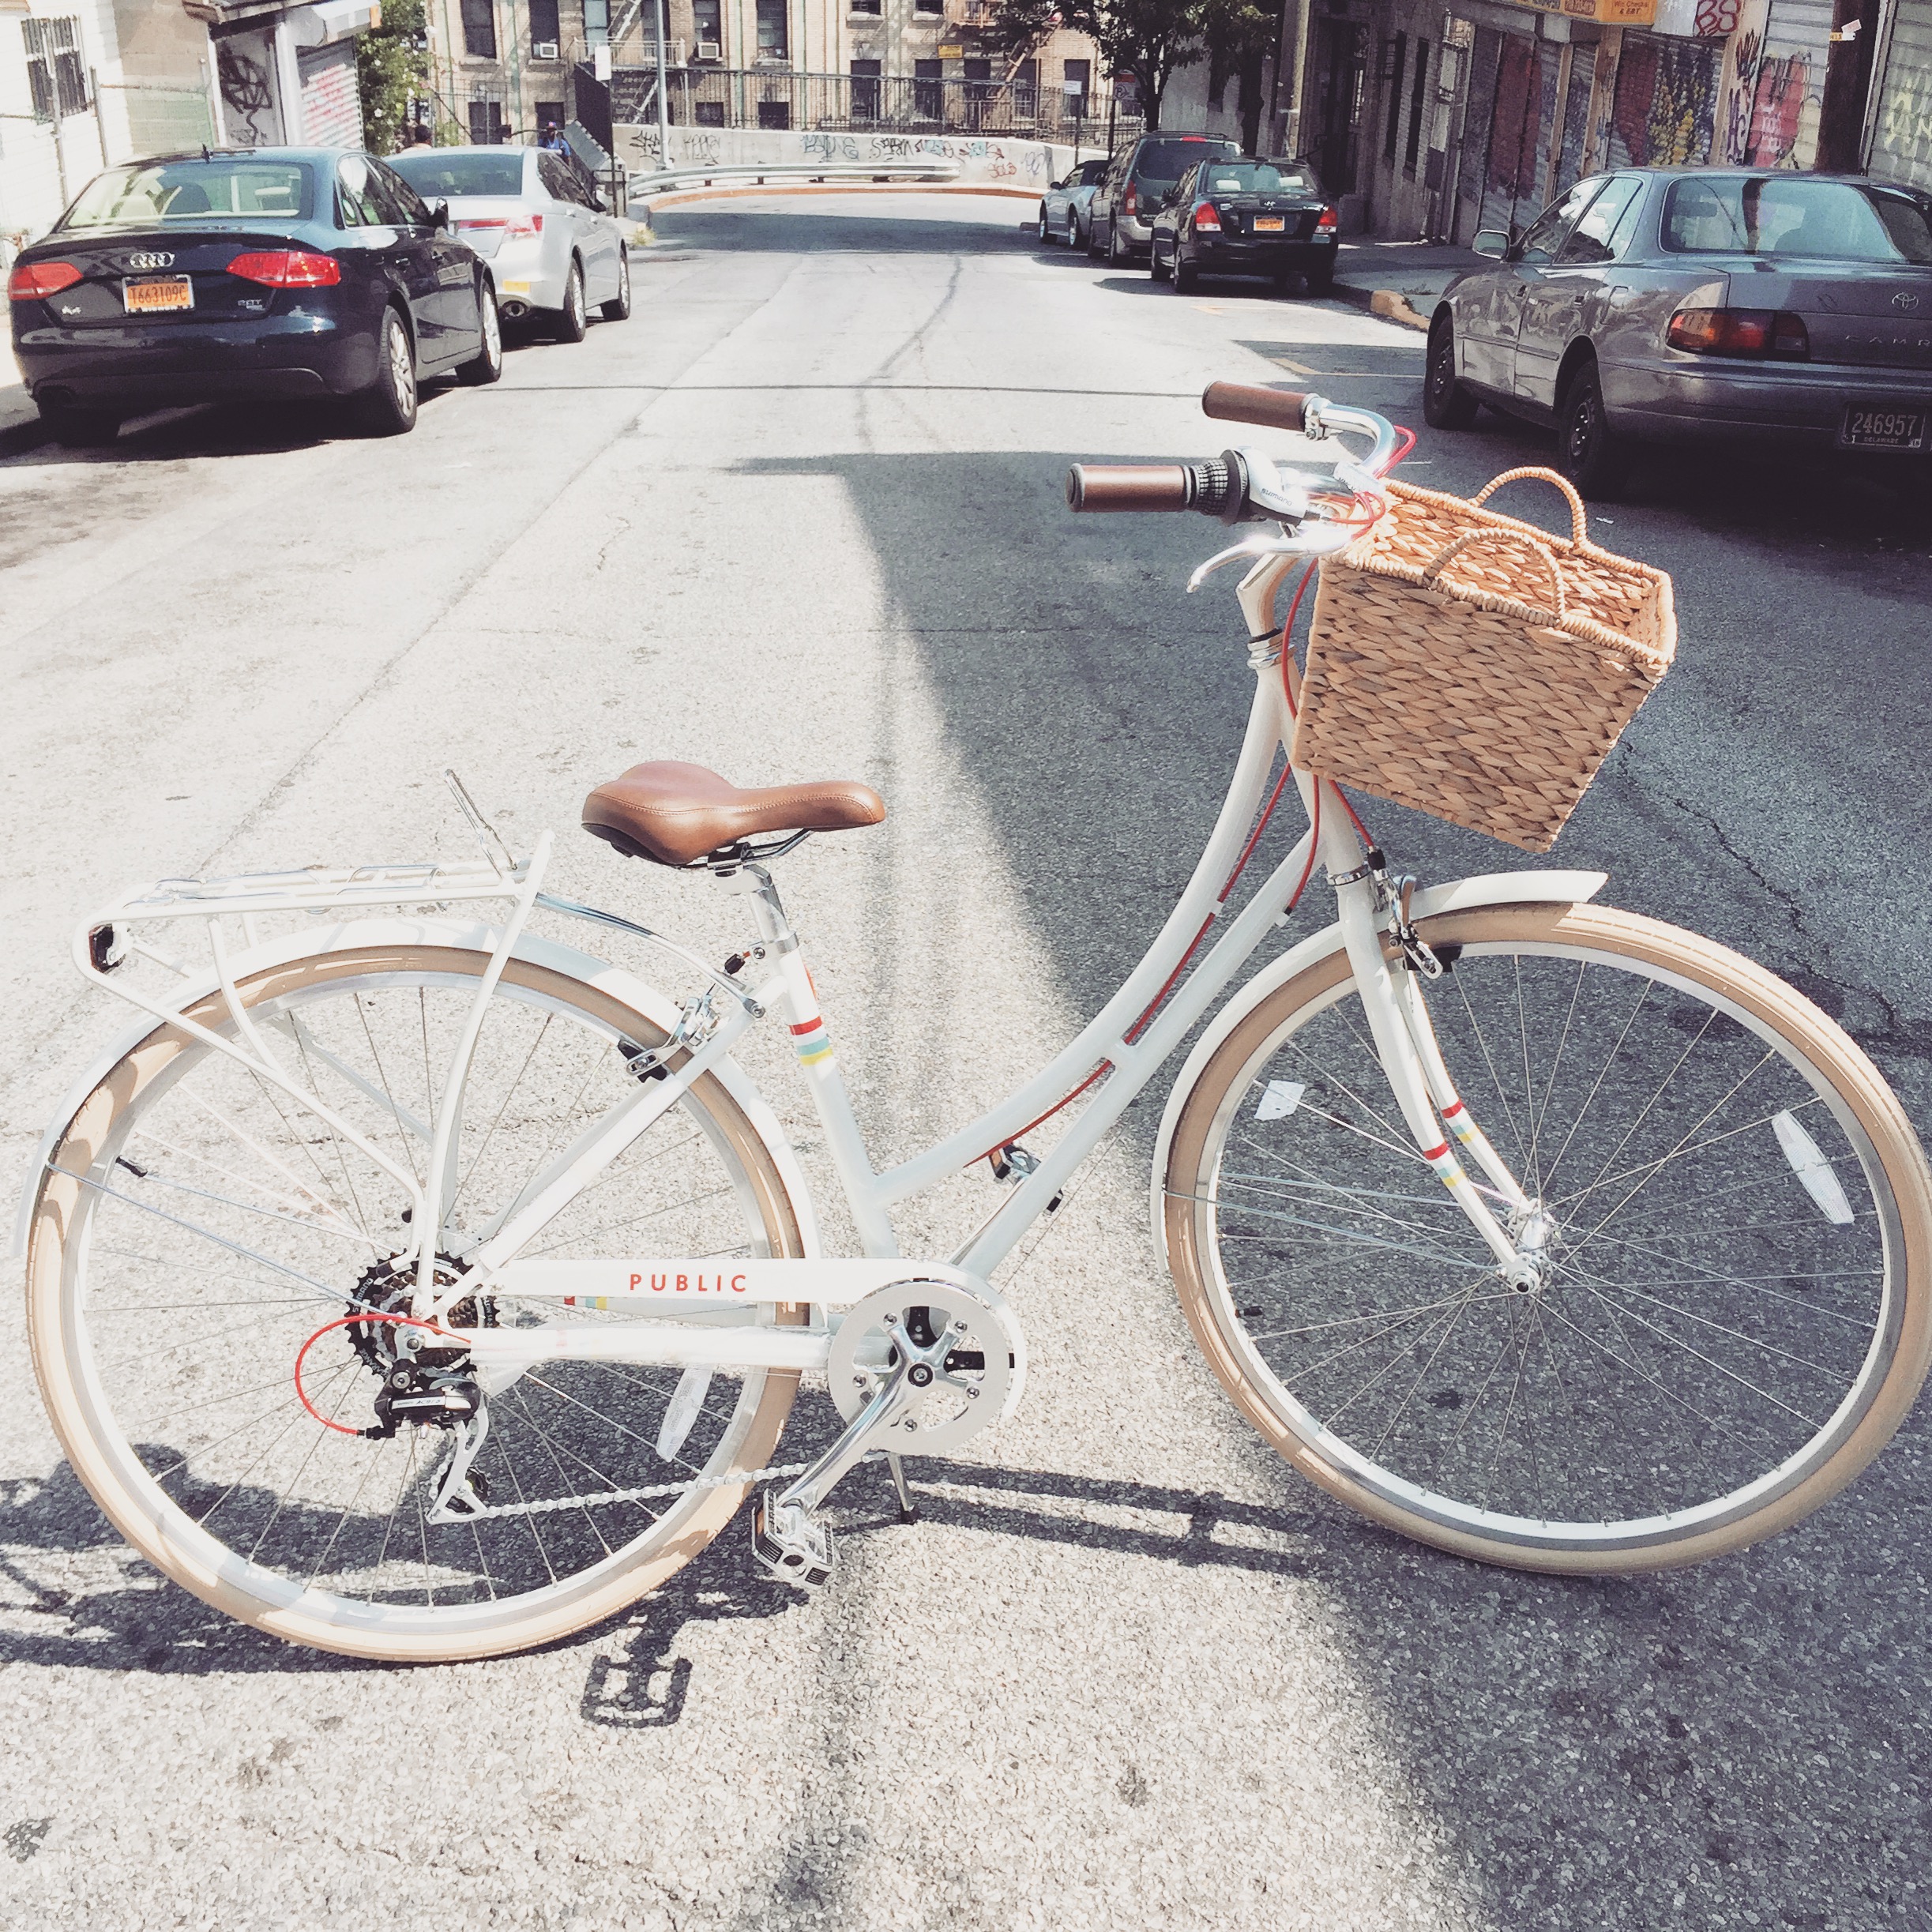
Woo - hoo. I finally got myself a bicycle from PUBLIC Bikes. I've been wanting one forever and just never got around to it, till now. Not only will this piece of gorgeosness help me get my daily exercise on, but it will just get me out of the house, period. At times I could stay at home for days on end without stepping foot outside which is not terribly bad, but when you know this is caused by your lack of motivation, or your evergrowing laziness, then it is probably time for some needed fresh air to change things up a bit (just sayin').
Don't get me wrong, I absolutely love the outdoors, adventures and expericing things beyond the walls of the apartment (if you don't believe me check out my bravery while being on a hot air balloon for the first time or climbing a huge mountain, then deciding to take photos near a cliff).
Hot Air Balloon Adventure
Mountain Climbing Adventure
But seriously there are just those weeks where I really don't see myself dealing with the outside world. Does that happen to you too. However, this is not one of those weeks and don't plan to have the "lazy week" phase for a long time while I have my bicycle to keep me company.
I always knew once I had a bike that I wanted a bike basket to go along with it. I recently realized after much thought of practicality and future plans that I wanted a rear basket too. Little did I know that these cuties are expensive. Ridiculously out of my price range, that is. They can be up to $90! Yes, you read that right. An unforgiving amount of money for a piece of basket.
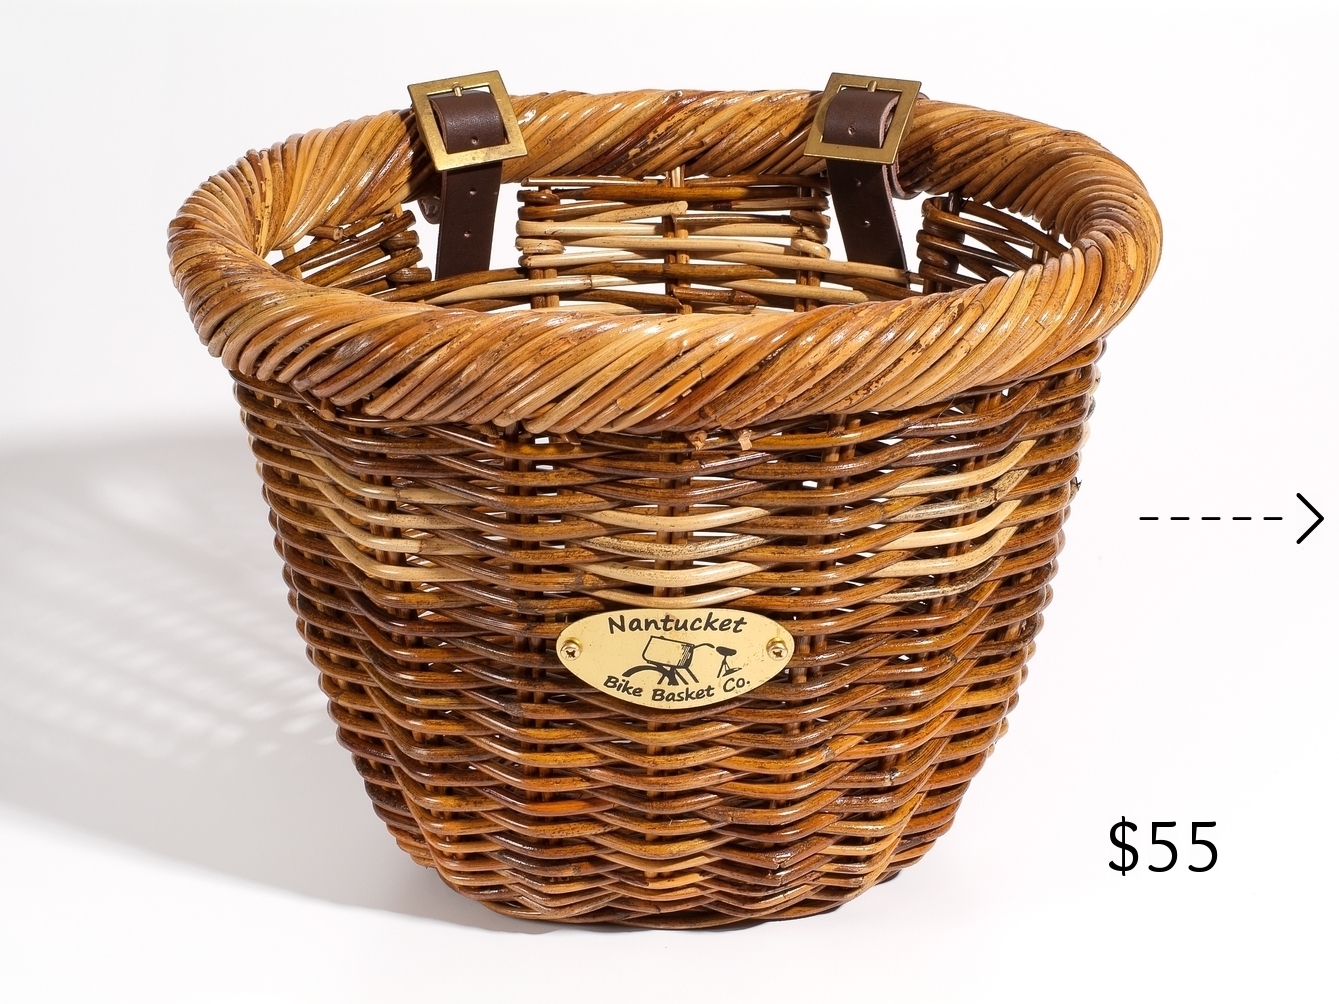
I looked high and low (just kidding, originally I only just looked online) for the ideal baskets, that were chic, classic and large enough. Sure, there are a couple that are relatively affordable, but still pricey and honestly not good quality at all. I wanted something that would last, as with everything else. My favorites that I came across were by Nantucket. Boy, oh, girl, are those baskets soooo beautiful, elegant, timeless, classic, I can go on for days. Though again, the only problem is their prices & unavailability.
This is why, I opted to make my own affordable version of these simply using two things. A basket and zip ties. This was my inspiration ...
A large basket that fits all my essentials during bike rides is what I was looking for.
DIY Bike Basket
Useful Tips
- Choose a basket that is not too small or too big for your bike. It is a good idea to take some measurements of you bike's handlebars or simply take a photo and keep it as a reference when shopping. If you're simply not sure, just choose a smaller basket.
- Make sure one side of the basket is flat as this one will lay better against the bike's handlebars.
- The basket should have a loose weave pattern so that you can easily insert the zip-ties when assembling it.
What You'll Need
- Baskets (I got mine at Marshalls for $13 each)
- Zip-ties
- Large Vintage Button, cameo Pendant, brooch or Logo figure (for the front of basket) optional
- Hot Glue Gun, E-6000 Glue, or Gorilla Glue
How To Assemble
Insert the zip-ties in an available opening from the weave of the basket making sure to evenly space them between the center point of the handlebars.
Secure and fasten the ties to the handlebars and at this point you are done.
To add something special and chic to the whole look, I glued a large button in the center of the basket to serve as a logo (just like in the Nantucket baskets).
Note: To place the rear basket onto your bike you will need a rear basket rack installed or use the one that may already be on your bike. You will follow the same directions used on the front basket, but this time working on the bottom of the basket. Make sure to securely fasten those ties to ensure it doesn't fall. Add your logo to this one too.
This DY version is so inexpensive, easy to make and looks just fabulous on my beautiful white bicycle. Hope you try it out.


